Pages

Tuesday, April 19, 2011

Old Photos

My old albums have been languishing in cupboards. The photos have slowly been going yellow, or green, or blue.. whatever!
I always wondered if I was a bit silly keeping my negatives, but I did. And now I've spent months scanning them all and am in the process of naming them. Which means I have to revisit those old photos - and hope that I wrote something about each one on the back!
This has become all consuming! I've revisited so many great times. I've dug out diaries and newspaper clippings and souvenirs and letters which I am now trying to put together (more about what I'm doing in a later post).
But for now, here is a beautiful shot of waterlilies from a trip to Darwin in 1985:
  • the original photo in my album
  • the scanned negative, edited in photoshop

What a fun journey of re-discovery this is!

Wednesday, March 16, 2011

Some more about my 365 album...

I had a word to Sharon of [ksharonkdesigns] about the template I used. It was an old freebie but I found it worked so well that it was such a pity it was no longer available. She kindly put it back in the shop and added a bonus template. So here it is:
I had modified the template in a few ways:
  • rotated and mirrored the template a number of ways to suit the orientation of the photo.
  • re-sized the 12x12 template to about 7x7.
  • added a mat around the photo to make it the right page size for my Blurb album.
Here are some individual pages from my book:


I love having my photos looking big like this and it was very simple to keep up-to-date with such a simple template design.
I am doing a similar thing this year. I'll show you that in a future post!

Monday, March 14, 2011

My 365 album arrived

Actually it arrived a few weeks ago, bad blogger I am! I printed it with Blurb because that was the only one that allowed anything like 365 pages. In fact Blurb will print to 440 pages. This is an 8x10" book.
I was surprised how compact 365 pages could be. I love my album! My family each sat down and poured over the pages. Then they each told me of the four typos I made!! I figure that if I'm going to aim for perfection I'll never get the book done.
So here it is...
The cover:
The photos are quite vivid:

This is how thick 365 pages looks:

And here is my eldest daughter transfixed:
A very worthwhile project I reckon!

Friday, February 4, 2011

twolittlepixels third birthday celebration


Happy third birthday to twolittlepixels!!!


To celebrate, the designers and creative team invite you to celebrate with by joining in their blog hop!
There are gorgeous minikits and quickpages up for grabs that co-ordinate into one fabulous BIG collab kit, called Reflections.

Here is a preview of the Reflections Collab ...


and here is a page I created with the template by Roadside Designs and some other goodies from the kit:


The blog hop begins at [ksharonkdesigns]

And there is more to come with the birthday...


Have fun hopping!!

Sunday, January 23, 2011

A day at the tennis

We often head down to Melbourne at this time of year to watch some matches.
I DID mean to check the entry conditions - like whether I could take in my camera. I NOW know that telephoto camera lenses with a focal length capacity greater than 200mm are not allowed. Luckily as my bag was inspected at the gate I had my Tamron 28-75 on the camera, yet later I saw dozens of other people with 300 zoom lenses on their cameras. My point and shoot has a 10x zoom anyhow -  it is obviously very difficult to effectively police these things, but the very big lenses are definitely for the professionals!
The best place for up-close photos in on the outside courts. I got to watch Roddick practicing.
I'm not sure if we're getting out of touch or whether it's just that are just more Eastern European players these days but I don't seem to know many of the players. We watched Anastasia Pavlyuchenkova of RUS  vs Iveta Benesova (below) of CZE, a very impressive game and I enjoyed taking photos regardless!
Zoe had a friend to keep her company.

So one way or another we all kept ourselves entertained!

Wednesday, January 12, 2011

Planning a photobook

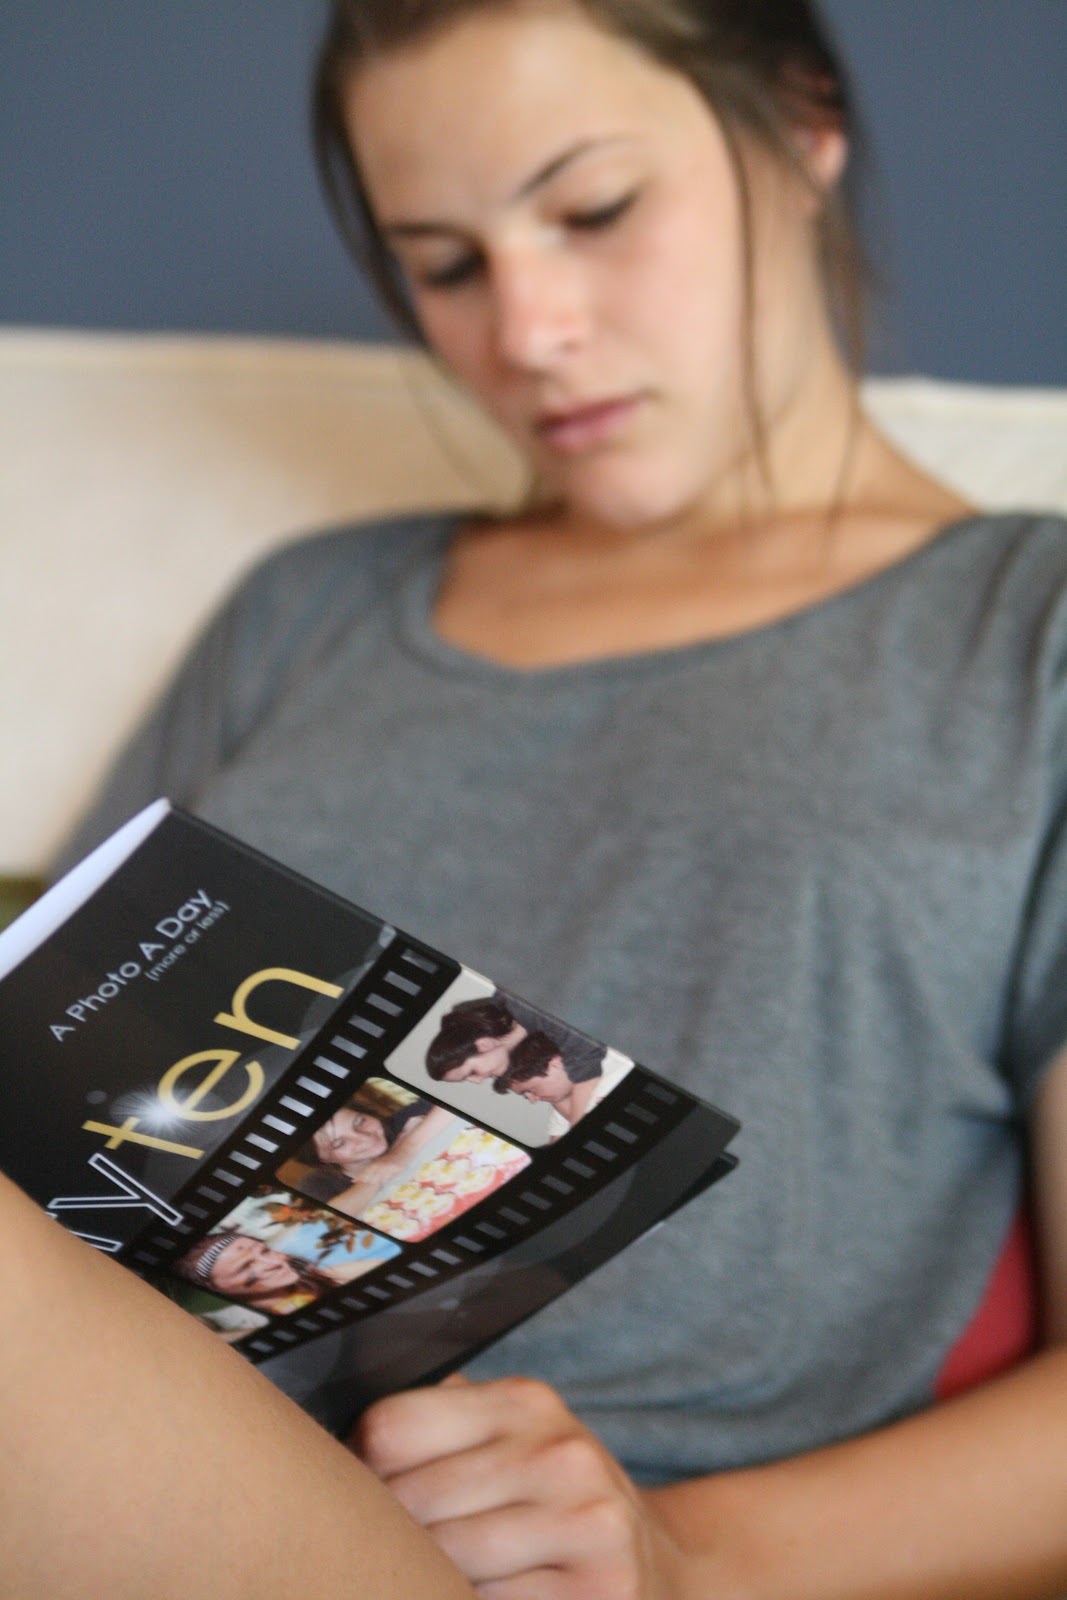
I have just returned from a week at the beach and am just now planning a photobook of the photos.I have created a photobook for our annual holiday for each of the past four years. I love the size of the project because it is so achievable.
Here are the stages I go through:

1. Choosing the photos

Of the 350 or so photos I took I'll put about 100 of them in the photobook. I have already picked them out and put copies in a separate folder.

2. Assigning photos to pages

This is where I cheat and use software by Momento to organise the photos. I have printed books with Momento before and I love how their software auto arranges photos on a page. It is so quick. Not only does it help me figure out which photos go on each page but it gives me ideas on how to arrange them. Here is a snapshot of the pdf I can export from Momento:

3. Choosing the kits to use

Oh what fun this is! I tag my kits using ACDSee so I usually create a new tag for my album and apply that tag to all the potential goodies like so (this screen shot shows elements tagged for my "queenscliffe" album which I have finished a year ago):

4. Create a theme template

Then I create a full sized page (this one is A4) that includes the standard elements I think I'll use. This way I can check that they'll work together. I choose my font sizes and jot any other notes that are relevant on this template. Here's the theme template for the album I'm planning:
Oh my I love this stage! It all looks quite a clutter but I love how they work together! Kits I plan to use are:

5. Create the pages

I start with a copy of the template that has only the background paper, the title and the body text in position and any other fixed elements like a keyline or stitched border.

I just have to drag any elements I want to use from this template page or add anything extra from my stash.So I now know what photos go where and have a good idea how they should be arranged. The most time consuming task at this stage is to tweak the photos (especially the brightness and sharpness) and compose the journaling (and check the spelling!).

6. Design the cover

I usually leave that until last because it is the culmination of the pages within. I find the cover is the most fun of all!

7. Print

I plan to have this printed with MyReflections which is another Australian company. But I've also used Blurb and Shutterfly. In my experience the cost is a good indication of the quality of the final product. MyReflections compares favorably with Shutterfly for price and quality.

So there you have it! My aim is to spend less time creating the book than I spent on holidays!

What do you do? Do you do something similar? Or do you have a different system?

Thursday, December 9, 2010

Making my wall calendar

I thought I'd show some pics of my wall calendar made up.
I've been making these for about 15 years for my parents. It started with the artwork of my eldest daughter. I used to trim the art and glue it to A4 cardstock and then laminate it. Then I'd print the calendar pages with family dates on them and bind it all together.
I even organised it as a fundraiser at our local primary school for many years. The parents would send in their child's artwork and we'd laminate it and bind it with some calendar pages. It was a terrific fundraiser. It was great fun, too, except when we had a disaster with the laminator or bound the picture upside-down!
In recent years I've done family heritage pages instead, with a different picture for each month. Here's my 2009 version (yes, that's me on the left with my tongue sticking out!):

This year I'm using templates by Roadside Designs at Two Little Pixels (see earlier post).
I haven't finished all of the pages yet, but I've bound a few of them to show you how it looks:

I used to bind them with white combs but I was very happy to find clear combs at our local office supplier a few years ago.

To use these combs you need a comb binder like this:
I'm lucky that we have one at work. If you are not so lucky I imagine your local office supplier would offer a comb binding service. Here's a link to instructions about how to use a comb binding machine.

I love making calendars for the family. My family don't necessarily "get" scrapbooking, but they certainly enjoy the calendars. And it has been such a terrific way to share photos that are otherwise hidden away in old albums or slide boxes. I will never finish scanning old slides and documenting our family history but I CAN finish a calendar!
Related Posts Plugin for WordPress, Blogger...